Easy to setup and effortless to use — Step-by-step instructions for the GT6000 Mobilis
Setting up GT6000 Mobilis multi-gas analyzer and portable sampling system PSS is quick and easy. Our product engineer Sami Ketonen takes you through the step-by-step process of getting the portable emission monitoring system ready for action.
The GT6000 Mobilis together with the PSS is a future-ready portable emission monitoring system that can perform sophisticated tasks such as measuring multiple gases and offer instant analysis of results on the go. But we wanted to make sure that using the device is not rocket science! We specially designed the portable system to be light, intuitive, and user-friendly, so you can get it up and running effortlessly.
The process is quite simple and anyone can set it up, reveals our product engineer Sami Ketonen.
“It only took me a couple of minutes the first time. If you follow the steps in our instructional video, you’ll be good to go. Of course, we do recommend user training when you buy a new unit because it also contains information on how to take measurements, and what to do with the results too.”
Follow these easy steps to set up the GT6000 Mobilis and PSS
| List of tools you will need |
With just those two, you are good to go! After a while, it will be useful to have a hex head wrench or 32 mm wrench within reach to replace the filter. PSS Plus users will also need a flat tip screwdriver for adjusting rotameters. |
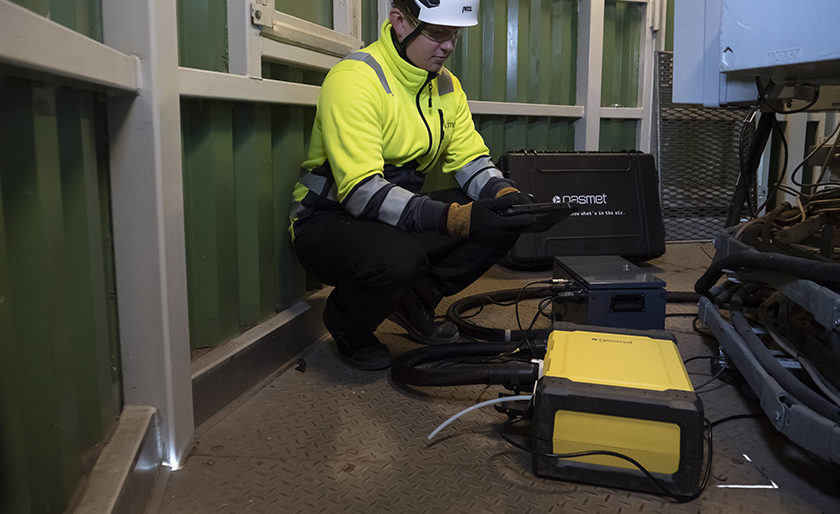
After you take out your brand-new analyzer from its handy pelican case (and admire it for a few minutes), set it next to the PSS portable sampling system. Ensure that the analyzer is always kept horizontal — don’t stack the PSS and analyzer on top of each other to ensure the devices stay stable and still during measurements.
Connect the heated line between the GT6000 Mobilis and PSS. Open the support panels and put your heated line through the strap. Screw the heated line first with your fingers and then tighten gently with a 14-size wrench. But not too tight or you risk damaging the connectors or the thread.
Follow the same steps for the analyzers’ sample outlet line. The outlet line needs to point downwards, so it does not accumulate condensation.
Connect the power cable of the probe’s heated line to the sampling system. If you are doing oxygen calibrations before you start measuring, we recommend that you don’t connect the probes’ heated line until you are done to ensure cleaner air for measurements.
“When you connect your heated lines, don’t forget to add insulation rings over the connectors. If you miss this step, it can cause cold spots, allowing flue gases to condense inside the connectors. This can create a resin-like substance that can clog the analyzer,” Ketonen says.
Next, connect the communication cables between the sampling system and the analyzer, and connect all power cables. Note that the analyzer, sampling system, and probe each have their own power cables so you will need three power sockets.
“It’s now time to turn on the analyzer and PSS. Before you are ready for measurements, you need to wait for about 45–60 minutes for the analyzer to heat up to avoid condensation during measurements. Check the probe filter, and once the system is heated to 180 degrees Celsius, insert the probe into the stack. Use the waiting time to set up a connection between the analyzer and your computer,” Ketonen says.
The GT6000 Mobilis lets you connect to a computer using Bluetooth, Wi-Fi, Wi-Fi station mode, or even a basic cable.
If you buy a Gasmet tablet along with the unit, the connection will already be set up, so you can head out on a coffee break while you wait for the device to heat up. You don’t need to use any manual buttons or switches and only need the tablet to carry out the commands.
The Calcmet software on your tablet will let you check the hardware status of your device and let you know when the analyzer’s temperature is stabilized at 180 degrees Celsius and is ready to use. The PSS has a handy system status light — The light is yellow when the system is still warming up, red in case of an error, and green when it’s ready. In case of a red light, check Calcmet for error messages.
Conducting background measurement and oxygen calibration before the device is ready to measure
Once the system is warmed up, you can conduct the background and oxygen calibration measurements.
For the background measurement, connect the nitrogen bottle to the PSS zero gas valve and start the background measurement through Calcmet. This flushes the system with nitrogen for two minutes and then conducts a three-minute background measurement.
“You can also always read the background measurements by checking the shape of the background spectrum in Calcmet. The training session shows you how to recognize the right kind of background measurements,” Ketonen says.
Once done, disconnect the nitrogen and start the oxygen calibration process using Calcmet. Once you see the ‘calibration successful’ signal, you know it is ready. Now you are free to connect the probes’ heated line to the sampling system, following the same principle as when connecting the heated line between PSS and GT6000 Mobilis.
With this, you are done. All that’s left at this point is to rub your hands together in delight and start your measurements with your brand new GT6000 Mobilis and PSS system!
| GT6000 Mobilis
GT6000 Mobilis is a new generation portable FTIR multigas analyzer suitable for monitoring gas concentrations in hot, wet, and corrosive gas streams. Together with a Portable Sampling System (PSS Plus or PSS Base), it transforms into a complete portable emissions monitoring system. |
 |